First, Understand How to Install the CCT Tool
How to Install CCT Tool begins with clarity. Before starting any installation or install process, it is important to understand what a CCT tool actually refers to. In real-world use, CCT can stand for Cable Connection Tester, Circuit Continuity Tester, or Cloud Configuration Tool, depending on the context in which it is used. This type of utility is designed to simplify testing, troubleshooting, and managing systems in a more efficiently controlled way. From my hands-on experience, I’ve seen how technicians, engineers, and IT professionals rely on these tools daily to avoid unnecessary delays and confusion.
When used properly, a CCT tool helps users check connections, verify continuity, and configure systems without guesswork. A correct setup ensures accurate results and prevents potential errors, misconfigurations, and failures caused by an improper approach. Over time, I’ve learned that most issues don’t come from the tool itself, but from rushing the installation without fully understanding how it supports reliable outcomes.
Preparation Before Installing the CCT Tool
When it comes to installing any technical tool, proper preparation for a CCT setup is no different. I always start by checking the system requirements, hardware compatibility, and software prerequisites to avoid issues later. For a software-based setup, this includes the operating system, supported versions, required drivers, and sufficient storage space. Taking time at this stage may feel slow, but it saves real effort once the installation process begins.
On the physical side, preparing the hardware, cables, adapters, and connectors in advance ensures everything is available when needed. Skipping this step often leads to installation failures, which wastes time and can even damage equipment. From experience, preparing everything beforehand creates a solid foundation for a smooth, hassle-free installation process, especially when working under pressure or handling multiple systems at once.
Obtaining and Accessing the CCT Tool
The next step in learning how to install CCT tool is obtaining the right version for your setup. If the tool is software-based, always download it from the official website or a trusted vendor. I’ve learned the hard way to avoid third-party sources, as they often carry malware or outdated versions that create problems later. Taking a few extra minutes here helps prevent unnecessary stress during setup.
Once downloaded, it’s smart to verify file integrity using checksums or digital signatures, especially in professional environments. For hardware-based tools, make sure the companion software, latest drivers, and manuals are included with the correct files. This careful approach goes a long way in minimizing errors, reducing troubleshooting, and ultimately saving time when you move forward with installation and configuration.
Detailed CCT Tool Installation Steps
Once all files and prerequisites are ready, you can start installing the CCT tool with confidence. For most software tools, this begins by launching installer programs through a guided setup wizard or by following manual instructions. During this process, you’ll be accepting terms, reviewing conditions, and selecting installation paths until the setup is complete. From my experience, slowing down at this stage helps avoid mistakes that are hard to fix later.
With hardware-based tools, the steps may include connecting device to the computer using USB, serial, or network interfaces, then installing drivers as prompted. It’s important to follow prompts carefully, avoid skipping steps, and double-check all connections. This level of attention to detail prevents common installation issues and ensures the tool functions as intended once setup is finished.
Post-Installation Configuration Setup
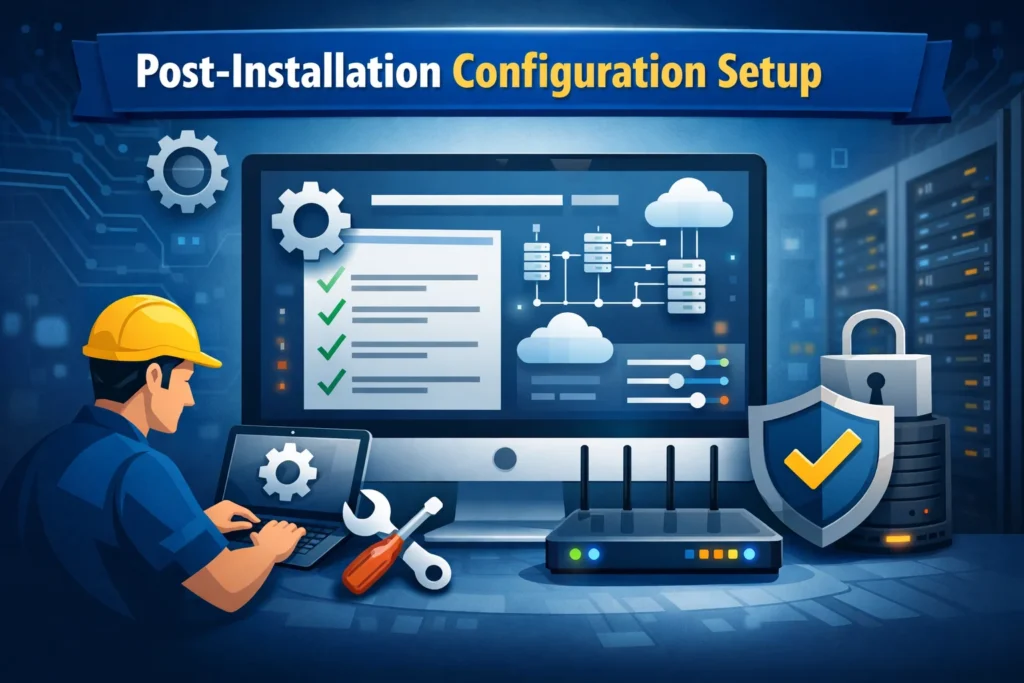
After installing, the first part may be done, but proper configuration is crucial before real use. I usually open the CCT tool right away and adjust settings based on both system requirements and project requirements. This often includes setting measurement units, defining calibration parameters, and applying network settings so the tool behaves correctly in real environments. Getting these basics right early makes everything else easier.
Most tools offer custom profiles, built-in presets, or wizards that help simplify configuration, but manual verification is still recommended. From experience, this extra step ensures accurate testing, monitoring, and management tasks, especially during real-world operations. A well-configured tool ends up saving time and reducing frustration, which matters a lot when deadlines or live systems are involved.
Verifying and Testing the Installation
After installation and configuration, it is important to test the CCT tool to confirm it works correctly. I usually run test scenario checks using a known good system or sample data to be sure everything behaves as expected. During this step, I always check results to see if they match expectations and confirm that all features function smoothly before moving forward.
For hardware-based setups, I closely review readings, alerts, and connectivity tests to ensure they remain accurate. This stage is a critical step in confirming a successful installation because it allows early detection of issues that could cause trouble during real operations. From experience, testing right away saves a lot of time and prevents bigger problems later.
Common Installation Problems and Challenges
Even with careful preparation, common issues can still appear during the installation of a CCT tool. I’ve personally dealt with missing drivers, incompatible OS versions, firewall restrictions, and security blocks that slow things down. In many cases, improper connections in hardware setups create problems that seem bigger than they really are at first glance.
When these problems arise, the best solution is to rely on official documentation and troubleshooting guides. Simple steps like re-downloading files, updating drivers, or adjusting settings often resolve these potential pitfalls quickly. Handling issues calmly helps minimize downtime and reduces frustration, especially when the tool is needed for active work.
Read More About Apps And Softwares on techsaasWrote
Best Practices for a Smooth Installation
For the best results when learning how to install CCT tool, I always rely on a few practical tips that come from experience. First, follow official guides and confirm your system meets prerequisites before starting. Making sure you have stable power and strong network connections during setup helps avoid interruptions that can cause issues partway through installation.
I also recommend take notes while you work so you can replicate process steps later if needed. Keeping software updated and firmware updated makes the setup easier, faster, and more reliable. For professionals who handle multiple tools regularly, these habits save time and reduce repeated mistakes across different installations.
CCT Tool Maintenance After Installation
After installation start, maintaining the CCT tool becomes essential for long-term reliability. From experience, it’s best to regularly check for software updates and recalibrate devices when required, as small drifts can affect performance over time. For physical units, I always store hardware in clean, dry conditions to protect internal components and avoid unnecessary wear.
It’s also smart to periodically test functionality to confirm accurate results during use. Proper maintenance not only reduces likelihood of errors during critical testing and monitoring tasks, but also extends lifespan of the tool. This approach helps you get maximum value from your investment, especially when the tool is part of daily or professional workflows.
Frequently Asked Questions
How to Install CCT Tool for the First Time?
To learn how to install CCT tool, start by checking system requirements, downloading the correct version from an official source, and following the step-by-step installation instructions. Proper preparation helps avoid errors during setup.
What Should I Check Before Learning How to Install CCT Tool?
Before understanding how to install CCT tool, make sure your system meets hardware and software prerequisites, required drivers are available, and all cables or connectors are ready if you’re using a hardware-based tool.
Why Is Proper Configuration Important After You Install CCT Tool?
When learning how to install CCT tool, many users overlook configuration. Adjusting settings after installation ensures accurate results, reliable performance, and smooth operation during testing or monitoring tasks.
How Can I Test If I Installed the CCT Tool Correctly?
After following how to install CCT tool, run a test using sample data or a known system. Verifying results and checking tool features confirms the installation was successful.
What Are Common Problems When Learning How to Install CCT Tool?
Common issues while learning how to install CCT tool include missing drivers, incompatible operating systems, and improper connections. These problems are usually fixed by updating drivers, reviewing official guides, or reinstalling correctly.
Final Overview of the CCT Tool Installation Process
When learning how to install CCT tool, the process may seem straightforward, but in practice it requires preparation and close attention to detail. From my experience, focusing on proper configuration and following a clear step-by-step installation approach makes a noticeable difference. Taking time with each phase helps ensure the tool is set up correctly from the start rather than rushing and fixing problems later.
By verifying setup and testing functionality, you achieve reliable performance across different use cases such as electrical testing, network management, and system monitoring. When you install correctly, you avoid frustration, improve accuracy, and fully unlock the tool capabilities that make How to Install CCT Tool valuable in real working environments
This post was created with the support of the Threeboystime Team I sincerely appreciate their help.